As mentioned in the article, Introduction to Templates, you can create an email campaign using a template from:
-
Curaytor Library
-
My Templates
-
Favorites
-
Shared
Using a Template from the Curaytor Library in Your Email Campaign
When you hover over any template in the Curaytor Library, you have two main options:
-
Preview
-
Use in Email Campaign
Preview
When you click on "Preview" you will be able to see the template you are considering using in its entirety.
You can see what the template would look like both on Desktop and on Mobile using the corresponding icons on the right side of the preview.
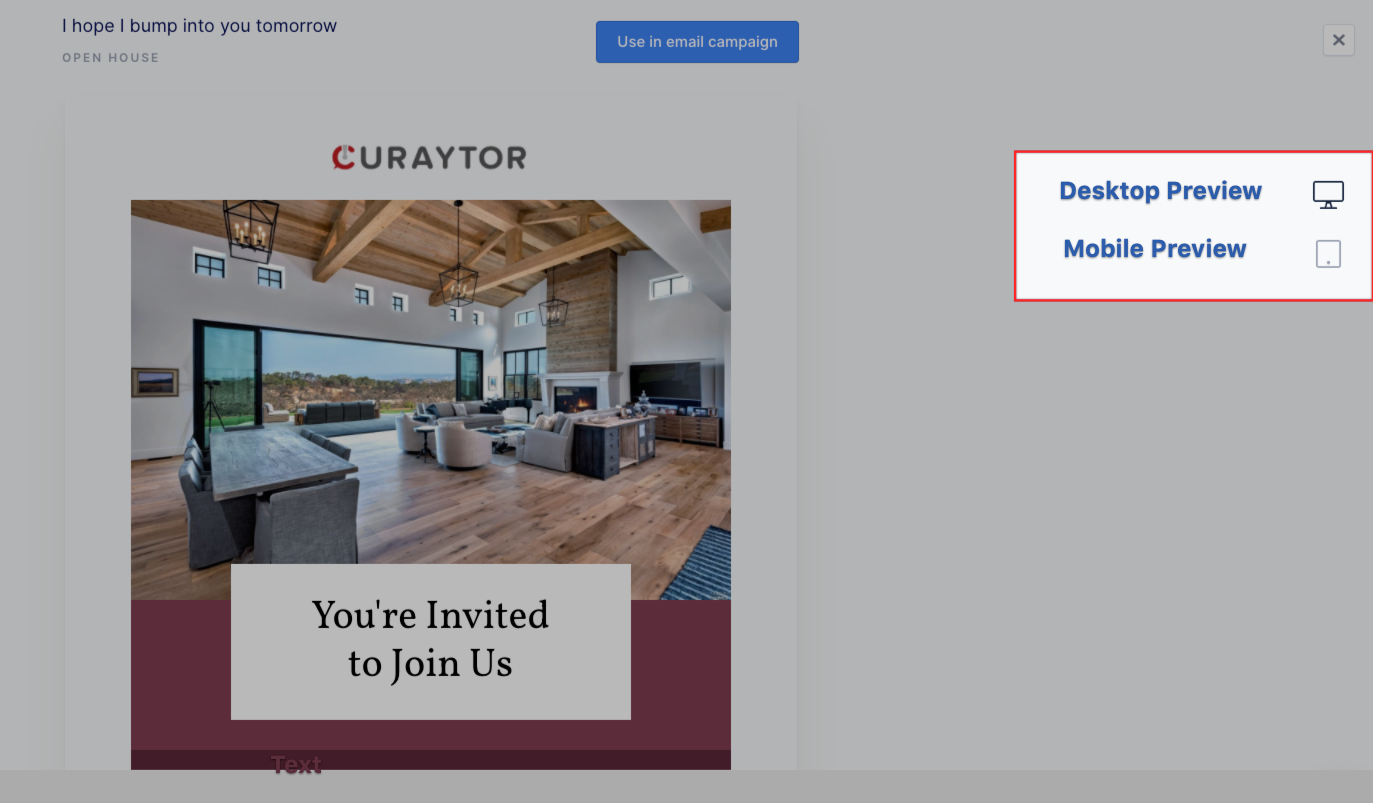
From here, you can either go back to the library to browse more templates OR if you like what you see, you can continue forward and use this template in an email campaign.
Use in Email Campaign
When you click on "Use in Email Campaign" you will land on the campaign creation screen with the template you selected automatically loaded up in the editor for you.
This is where you can customize and edit the template to your liking.
Customizing Your Email Template Before Sending or Scheduling
The process of customizing your email template differs slightly depending on if it's a plain text template or a visual template. We will go through
Customizing a Text Template
-
Hover over the text email you'd like to use and click on "Use in Email Campaign"
-
Enter the values for the variables that appear in the template in order to personalize the email, then click Save & Continue
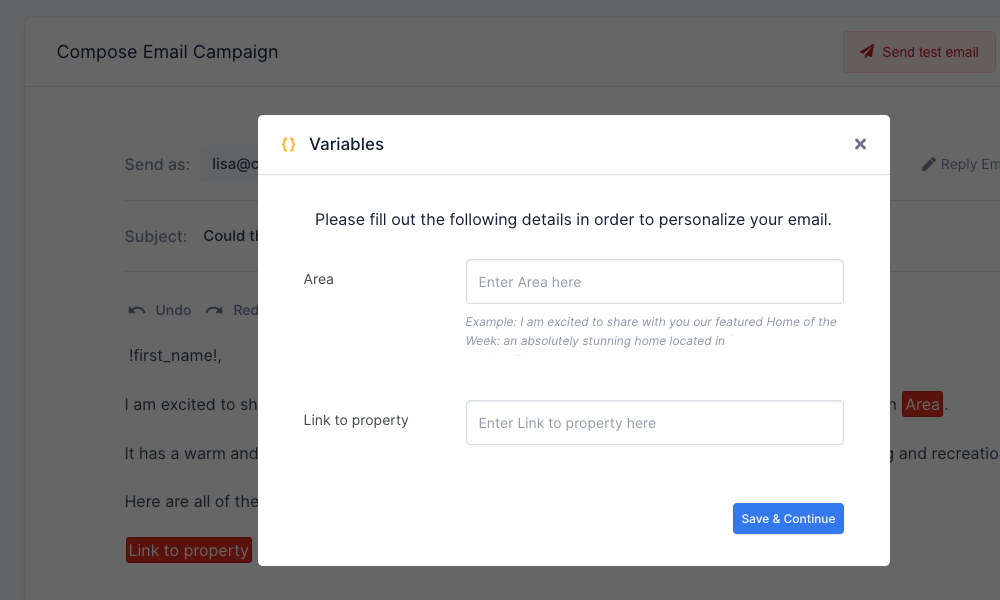
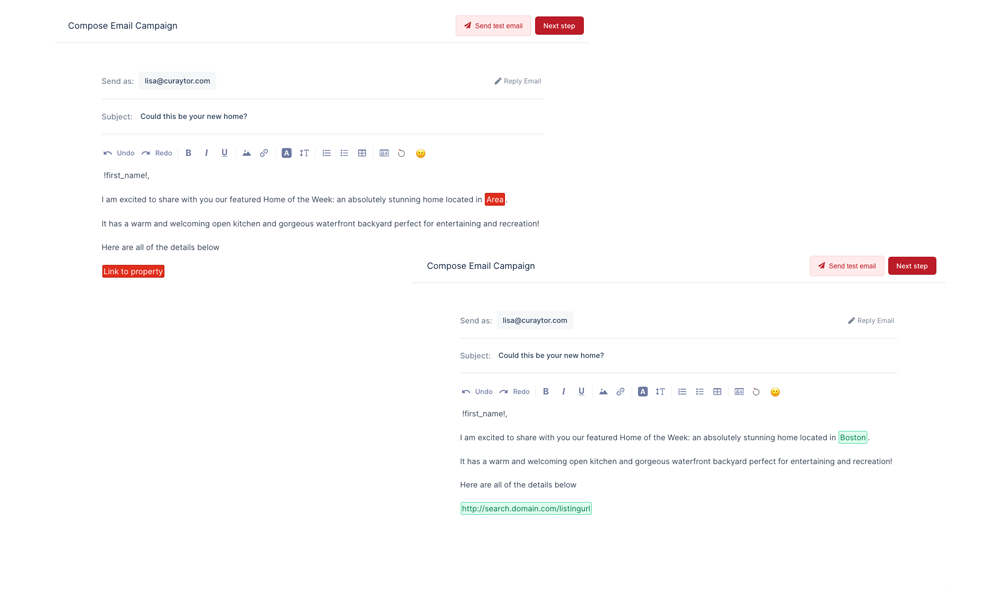
Note: Variables that have successfully been filled out will be highlighted in green. Variables that you have failed to fill out will be highlighted in red.
To edit or remove a variable value, simply click on it.
3. Proofread the email and ensure all sentences read smoothly, all grammar is checked and everything is to your liking
We always recommend sending yourself a test email as well!
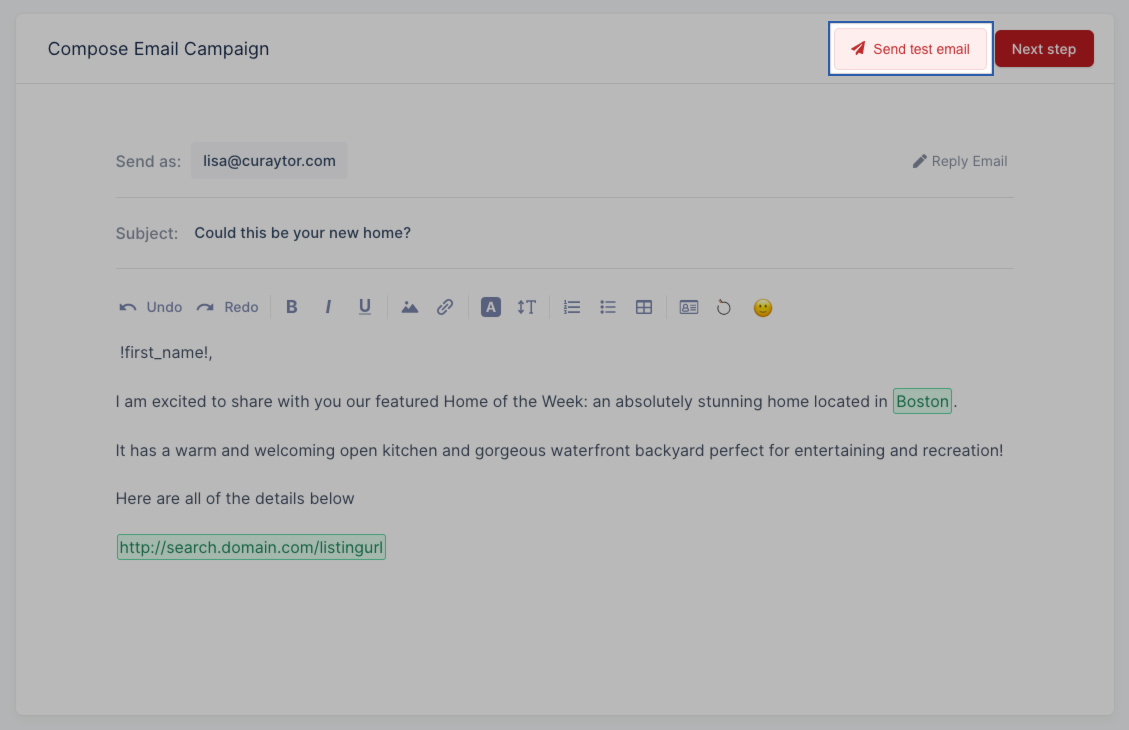
4. Continue the process as you normally would by clicking "Next step" where you will select the audience you wish to send to
5. Once your email is ready to go and your audience has been selected, you can schedule your email to send at a later date or you may send it immediately.
Customizing a Visual Template
Our visual templates are created using our latest innovation, the visual editor.
Our visual editor is a combination of in-line editing with additional settings and options available upon click. The visual editor uses blocks to create beautifully designed templates.
Blocks are the simple, main components that you see within the visual emails. This includes things like Header, Paragraph, Image, Video, Logo, Footer etc.
💡 PRO TIP FOR ADDING IMAGES:
Ensure that your images are oriented correctly to fit the designated image block. Use vertically oriented images for vertical blocks and horizontally oriented images for horizontal blocks to achieve sharper, clearer visuals in your campaign. Additionally, using higher resolution images is highly recommended.
⬇️ Example of a vertical image block below:
‼️ RECOMMENDED SPECIFICATIONS
As a general guideline, it's best to use images that are double the dimensions of the image slot in the email blast, measured in pixels.
For instance, if you have a vertical image that is 300x435 pixels, the ideal size for optimal clarity on mobile retina screens would be at least 600x870 pixels.
For full-width [more horizontal] image blocks, which typically measure around 600x420 pixels, the corresponding image should ideally be 1200x840 pixels.
👀 Feel free to use higher resolution images beyond these specifications as well.
Let's dive into it.
-
Hover over the visual email template you wish to use and click "Use in email campaign"
-
Similar to text templates, enter the values for the variables that appear in the template in order to personalize the email, then click Save & Continue
-
To edit the text that appears in the template, click directly where you'd like to edit and customize it how you'd like
To apply additional settings (colors, styles, alignment etc.), simply click on the area you wish to edit and the settings for that area will automatically expand for you on the right hand side.
You can make your desired edits and customize to your liking super quickly and easily.
4. Proof read and preview the email and ensure all sentences read smoothly, all grammar is checked and everything is designed to your liking
We always recommend sending yourself a test email as well!
5. Continue the process as you normally would by clicking "Next step" where you will select the audience you wish to send to
6. Once your email is ready to go and your audience has been selected, you can schedule your email to send at a later date or you may send it immediately.
Using a Template from My Templates, Favorites or Shared in an Email Campaign
The steps are basically identical to using a Curaytor library template.
The only difference is you must first navigate to the section you plan to use the template from.
For example:
-
If you'd like to use a template from My Templates, click on My templates and then follow the same instructions as shown here.
-
If you'd like to use a template from Favorites, click on Favorites and then follow the same instructions as shown here.
-
If you'd like to use a template from Shared, click on Shared and then follow the same instructions as shown here.