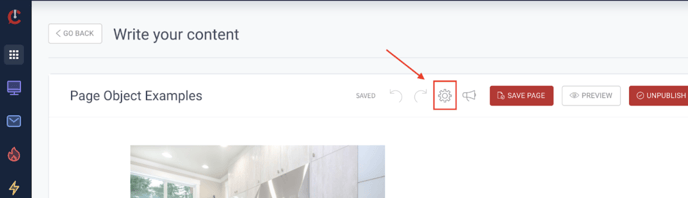
To access the settings of a page, click the “Gear” icon at the top of the page.
Layout
Logo Only (Perfect for Landing Pages): Toggling this on means that you want to hide the header that would show up on every page containing the main CTA, menu, and three header links. This is perfect for a landing page or a lead generation page, so that the viewer has no choice but to fill out the form.
Hide Footer: Toggling this on means that you want to hide the footer, including all links, logos, etc. This is also best used for a landing page or lead generation page.
Header Transparent Options
Use Global Settings: This is the default, and will follow the settings you have universally set in your global settings.
Transparent: This will make your header transparent, so that the logo, three header links, and main call to action button will blend into your hero image.

Opaque: This will make your header have a background color (usually white) so that your logo, three header links, and main call to action button will be easier to see against a background image that may be too busy.

Featured Image:
This is the image that will populate when you share the link to the page you’re editing.
SEO Settings:
These are the settings related to Search Engine Optimization.
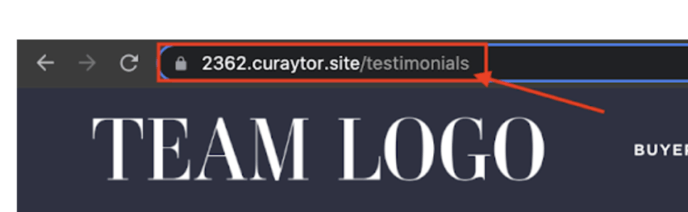
URL Slug:
This is the link to your page. For example, if the page is https://www.yourdomain.com/testimonials you would fill this out to be “testimonials” to match the link.

SEO Title: This refers to the title of the page. The SEO title is what will show on Google or similar search engines when this page shows up. For the Testimonials page, we recommend using a title like this “Reviews | Testimonials | [YOUR TEAM NAME]
SEO Description: This goes a little deeper than the SEO title. Here you should describe what the page is about. We recommend using something like this “Read reviews from real clients about what they think of [TEAM NAME].”
Tags: You can use tags to categorize your content for blogs, pages, etc. These come in handy when using the Related Content object or when categorizing your blog posts.
Scripts & Tracking: We recommend not adding any additional scripts.
Other Settings
Category: This is where you can make your content either a page or a blog post. If you choose to publish your content as a blog post, the URL slug will automatically have the /blog/ put in front of the URL slug. (Example: https://www.YOURDOMAIN.com/blog/testimonials vs. https://www.YOURDOMAIN.com/testimonials) The blog post will also be added to your blog page.
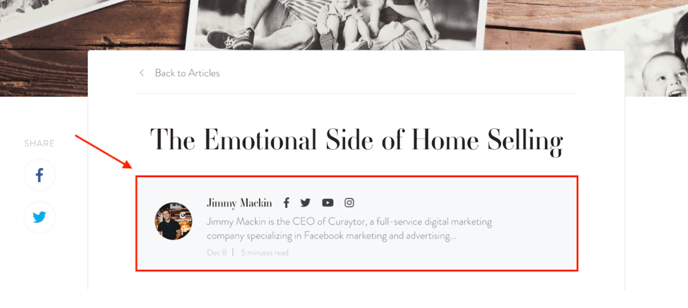
Author: You can make any of your added team members the author of a page or post. Please keep in mind that on pages the author will not show up anywhere on the page, but on a blog post the author is shown.
Landing Title: I am not sure where this comes up / what this does!
Set As Homepage: If you wish to make the page you’re creating your homepage, you can do so by toggling this on.