VIDEO INSTRUCTIONS:
WRITTEN INSTRUCTIONS:
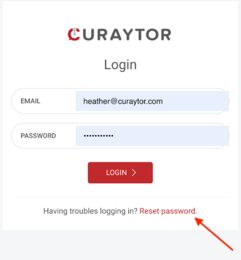
1) To begin the process of creating a blast, login to your Curaytor account
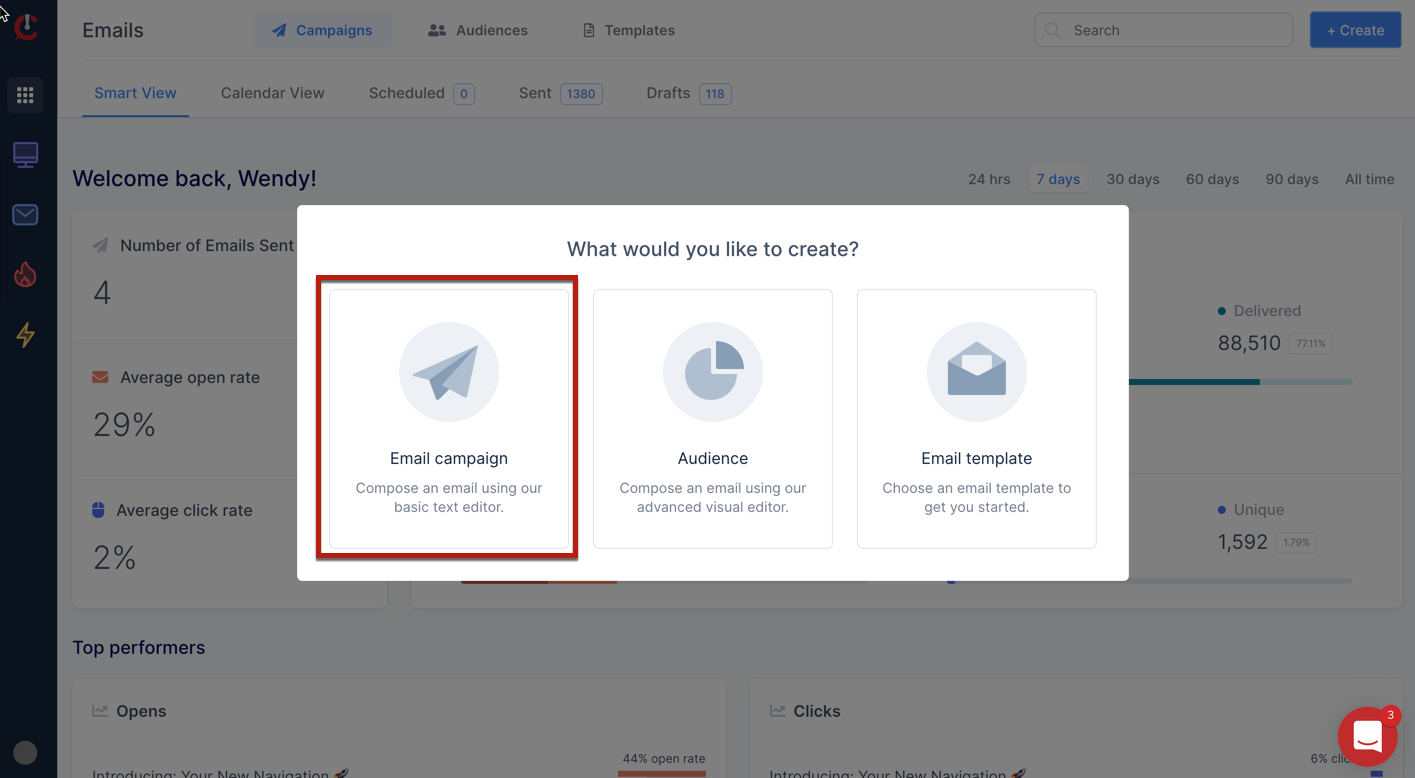
2) Click the blue "Create" button in the upper right corner of your screen

3) Select "Create Email Campaign"
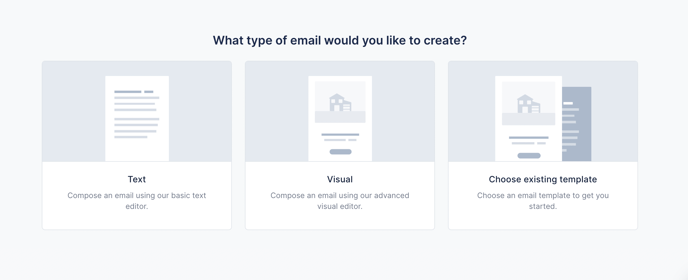
4) Select Text, Visual, or an Existing Template
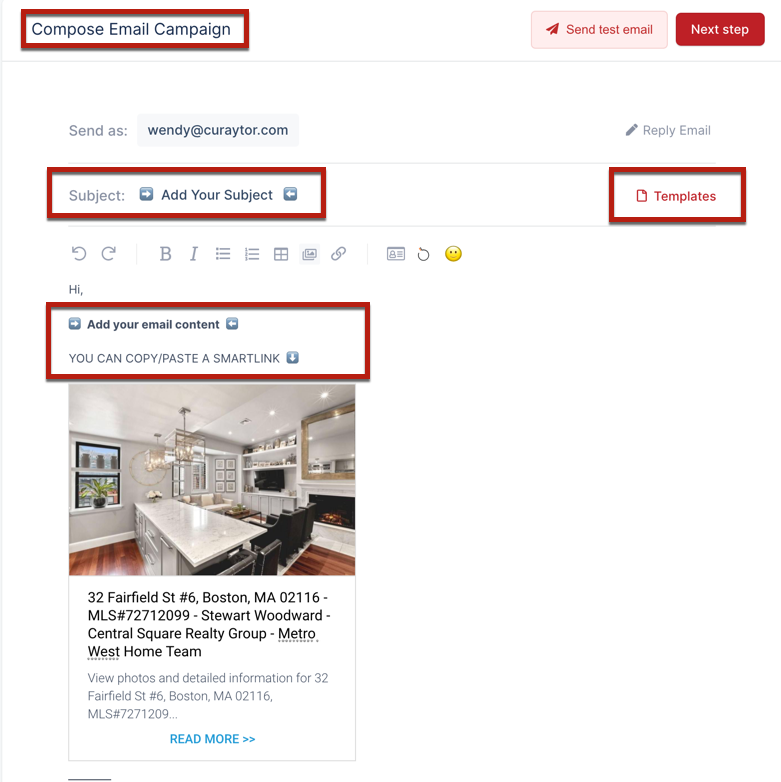
5) Using the Blast Editor, you will "compose" your email campaign
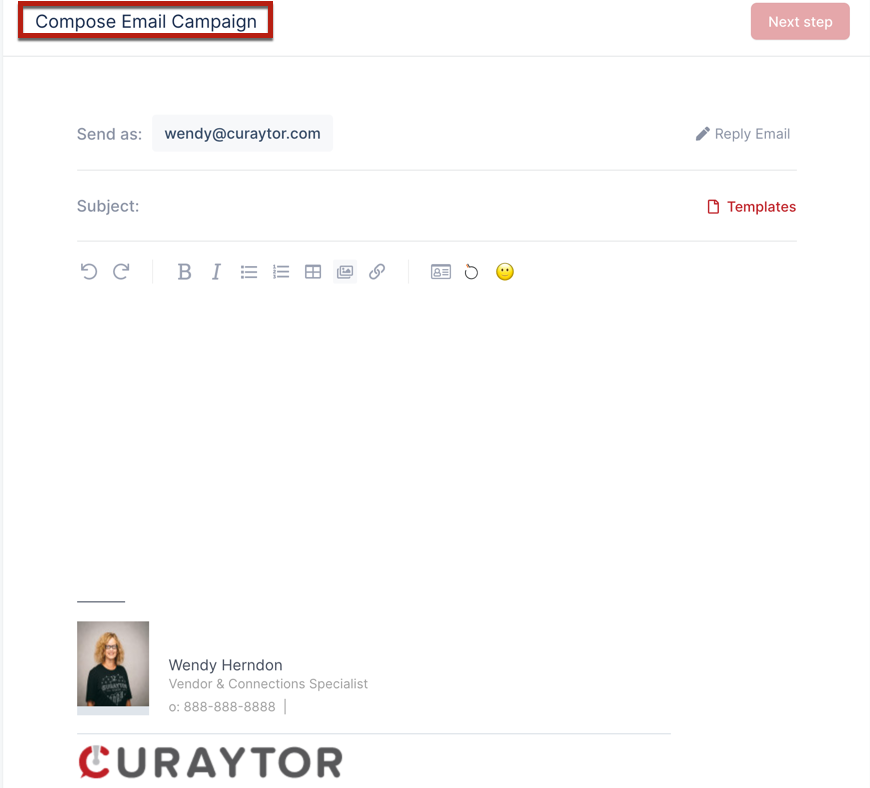
6) Add a Subject Line & then compose the body of your email.
NOTE: You can copy/paste a "pretty or smart link" from a Lofty property page or from any other page on your Curaytor site, as well. You can also click on the text in the "pretty/smart link" thumbnail view to edit if you choose.
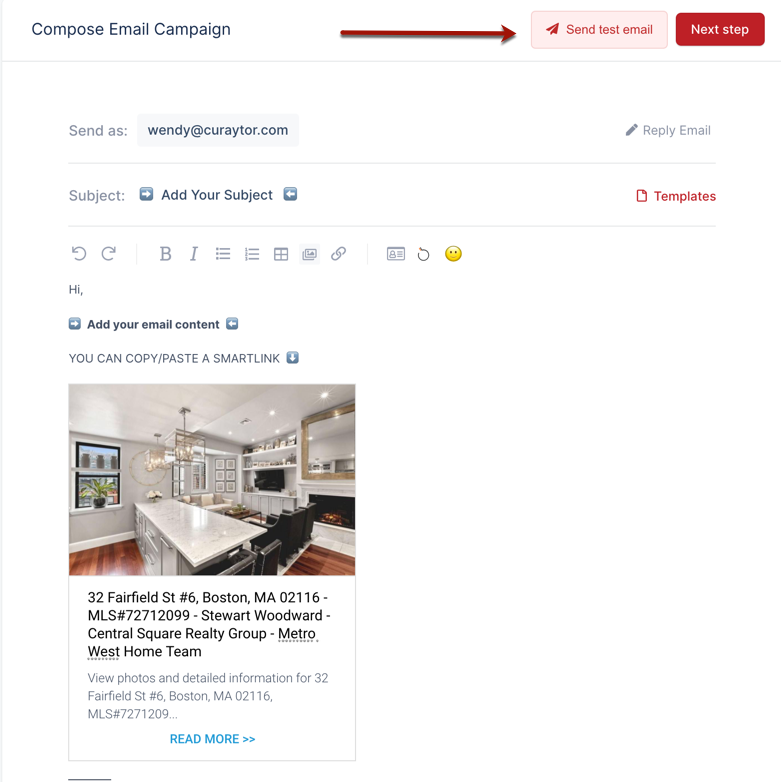
7) Be sure to send yourself a "Test" email to proofread and to see what the email will look like in your inbox, before scheduling or sending it.
NOTE: To send a "Test" email to another email address, just type that email over the email that auto-populates.
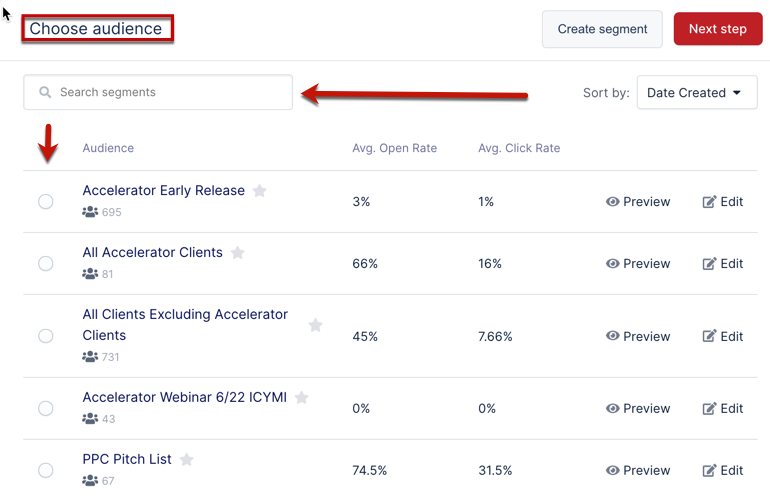
8) Now define your blast audience. You can search for an audience, or choose one from the drop-down list and click the red "next step" button
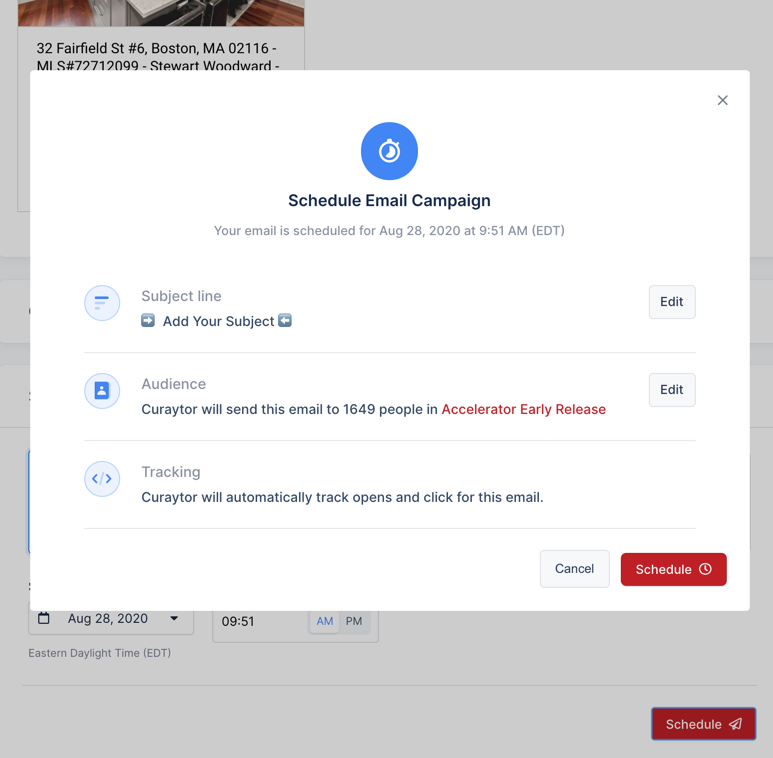
9) Schedule or send your blast. If you choose "send now", the email will be sent immediately. if you choose "schedule" - you can choose a future date and time for the blast to be sent out.
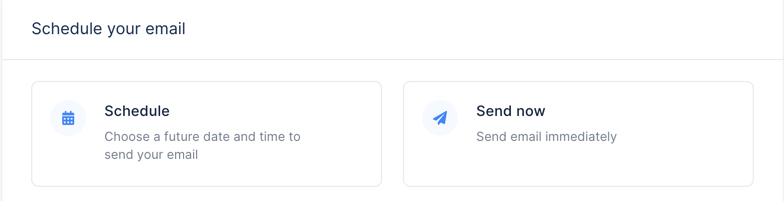
NOTE: If you choose the "schedule" option and click the red "schedule" button, you will get a verification summary of your blast content, your audience selected, and that tracking is enabled for your email. Review and click the red "schedule" button in the summary and you're all set!
Be sure to check back after your blast has been sent to review the performance of your email campaign!
TIPS & SPECIFICATIONS FOR VISUAL CAMPAIGNS/TEMPLATES
💡 PRO TIP FOR ADDING IMAGES:
Ensure that your images are oriented correctly to fit the designated image block. Use vertically oriented images for vertical blocks and horizontally oriented images for horizontal blocks to achieve sharper, clearer visuals in your campaign. Additionally, using higher resolution images is highly recommended.
⬇️ Example of a vertical image block below:
‼️ RECOMMENDED SPECIFICATIONS
As a general guideline, it's best to use images that are double the dimensions of the image slot in the email blast, measured in pixels.
For instance, if you have a vertical image that is 300x435 pixels, the ideal size for optimal clarity on mobile retina screens would be at least 600x870 pixels.
For full-width [more horizontal] image blocks, which typically measure around 600x420 pixels, the corresponding image should ideally be 1200x840 pixels.
👀 Feel free to use higher resolution images beyond these specifications as well.
📤 SEND EMAIL CAMPAIGNS ON BEHALF OF OTHER TEAM MEMBERS USING THE ACCOUNT SWITCHER
Part 1: Duplicating the Campaign for Another User
1. Log in as Admin User
Access the admin account using the provided credentials.
Ensure you are logged in successfully.
2. Create a New Campaign
Navigate to the Blast section.
Create a new campaign that you want other users to duplicate.
3. Switch User
Use the account switcher icon in the bottom left corner of your screen, to select the intended user [e.g., Michelle] for duplication. Verify that you are now logged in as that user.
4. Duplicate the Campaign
Click the three dots in upper right corner next to the campaign you want to duplicate for this Team member. Select the Duplicate option from the drop down menu.
❗NOTE: You can duplicate a shared template, a draft, or a "sent" campaign.
Part 2: Sending the Campaign as Admin on Behalf of Another User
1. Log in as Admin User
Access the admin account using the provided credentials.
Ensure you are logged in successfully.
2. Send the Campaign
Navigate to the Blast section.
Click on the campaign in DRAFTS that contains the user’s name [the one you want to send on behalf of]. Review for accuracy, send test email, and select the proper audience.
❗NOTE: A warning ⚠️ message will appear, indicating that the campaign is being sent on behalf of another user.
3. Finalize Sending
Confirm all details are correct, including the “Send As” email.
Click Send or Schedule to send - to finalize and launch the campaign.